Spinning Senses Game

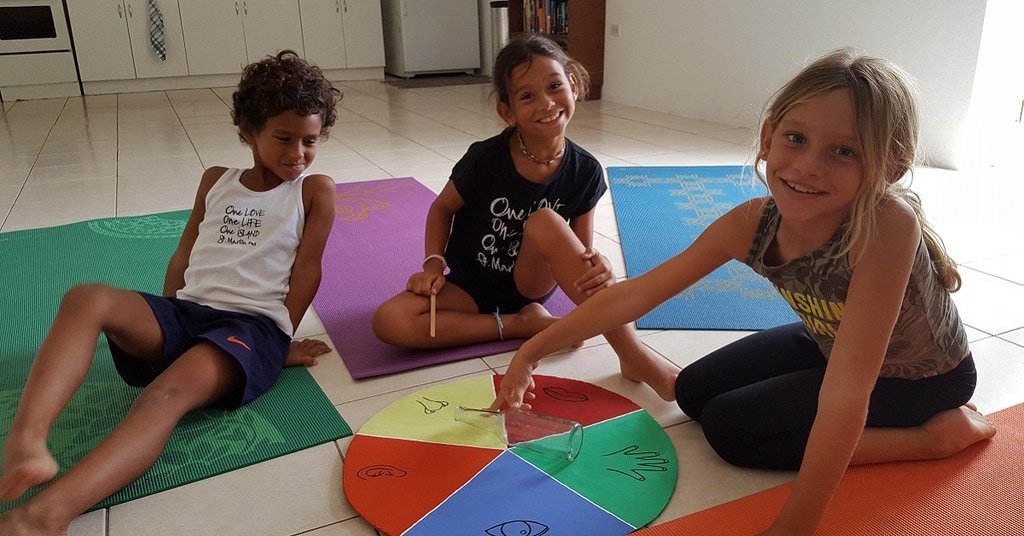
Kids playing Spinning Senses game

At YogaKids, we LOVE games where WE ALL WIN! These are sometimes called “cooperative” games — because they strengthen our cooperation skills. Here’s an example created by one of our Certified YogaKids Teachers called Spinning Senses. She created while going through our program and we love it so much!

Here’s how to play…

Cut a piece of cardboard into a circle and divide into sections labeled with all the 5 senses: hear, see, small, taste and touch. Put a bottle in the center. Gather items that have a strong scent (essential oils are perfect), taste-able items (sour, bitter, salty, sweet), and touch-able items (examples: sand paper, velvet, plastic, wood).

Everyone takes a turn spinning the bottle. On your turn, play out as follows:

  • Hear: Close your eyes. The person on your right makes a sound.  Guess what the sound is.
  • See: The person on your right chooses an object in view. Guess what the object is.
  • Smell: Close your eyes. The person on our right chooses something for you to smell. Smell it and guess what it is.
  • Taste: Close your eyes. The person on your right chooses something for you to taste. Taste it and guess what it is.
  • Touch: Close your eyes. The person on your right chooses something for you to touch. Touch it and guess what it is.

What a great way to strengthen our senses!


Create and teach your own Great Ideas as a Certified YogaKids Teacher!

Coffee Filter Flowers

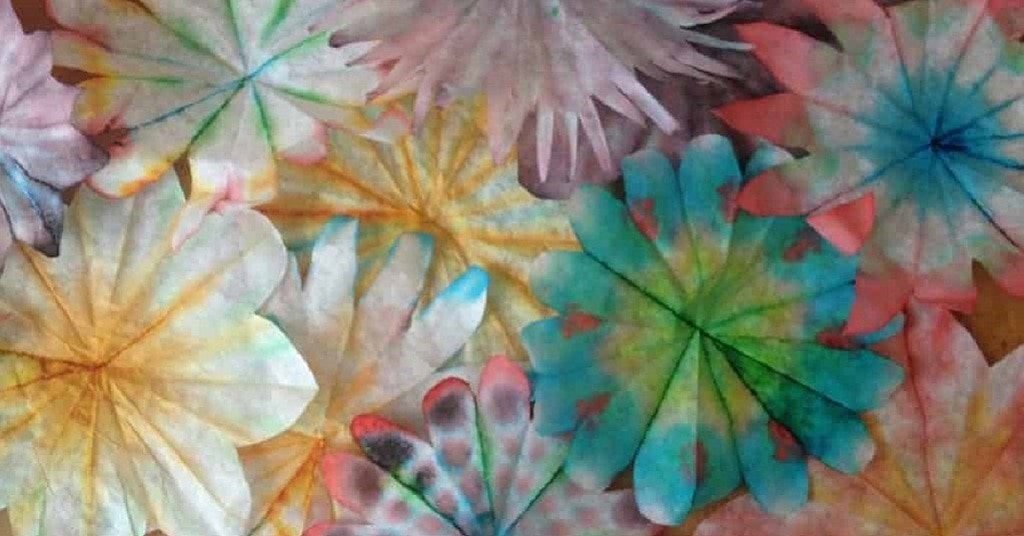
coffee filter flower craft

Coffee Filter Flowers are easy to make and very pretty!

Coffee filters are made of a very porous type of paper — porous is an adjective used to describe things that have many tiny holes that allow water and air to pass through them. Rocks, fabric, and papers are a few of the things that can be porous.

Coffee filters have to be porous because the water needs to pass over the ground-up coffee beans, taking away only flavor and color, into the coffee pot below. The same thing happens with rainwater as it flows through many layers of porous rocks and dirt, which slowly filter out little particles until the rainwater reaches underground aquifers, where the water pools inside the earth, purified after many years.

Porous paper is really fun for making water-based color crafts, because we can see the color travel through the porous surfaces. Sometimes we get unexpected results, and we can see mixed colors separate into different colors! For instance, green is made using a combination of the colors yellow and blue, so if you allow green inks to separate on a coffee filter, in some cases you will be able see both the yellow and blue colors pull apart as they travel over the porous surface of the paper.

Materials

  • White paper coffee filters
  • Food colors*
  • Thin floral wire, strong string, or yarn (to attach the blooms to the stems)
  • Wax paper, a drop cloth, or some other protective surface to work on
  • Sticks, heavy straws, strong wire, or thin dowels (to use for stems)
  • Cup of clean water
  • Four small containers for holding the colors, and cotton swabs to use as applicators

Instructions

  1. Set up: pour a couple Tablespoons of water into your four containers, then add a couple drops of food coloring to each.
  2. Fold your coffee filter in half, then in half again. (You may fold again, if you please!)
  3. One side of your folded coffee filter will be a point. You must not cut into or cut off this point — this is the center of your future flower, and you must be able to pinch it together to tie it onto the stem. At the other side of your folded coffee filter is the wide, rounded side of the triangle. You will cut points and rounded edges into this side to make petal shapes.
  4. Cut as many coffee filters as you want.

Adding color (Two Ways) 

Now: you may either touch the cotton swabs with color on them directly onto the coffee filters, or you may first use the clean water to wet your coffee filter before adding the color.

If you add the color to dry filters, the color will be more saturated, and will not separate as much. The filters should dry fairly quickly, unless you really put a lot of color on.

If you add the color to wet filters, it takes less color to “travel” over the surface of the paper. The filters will dry much more slowly, and may need to be set on a plate in a sunny window. If you live in a very dry place, the water will evaporate more quickly than if you live in a place with high humidity.

Finishing Up

Let the filters dry completely. Open them up and see your beautiful flowers!

Now, pinch the flower together at the center of each filter and tie it off tightly, using your yarn, string, or floral wire. Make sure you leave long enough ends on your fastening material so you can tie them onto the stems you’ve chosen.

Try putting two or three coffee filters together to make beautiful, multicolored flowers.

Now, give your pretty filter flowers to a friend, to brighten his or her day!

*PARENT PRO-TIP! Go to a store that carries food service supplies (like Smart & Final, Cash & Carry, etc.), to get big bottles of food coloring for about the same price you’d pay for the four-pack of tiny squeeze bottles at a normal grocery store. I got 16 oz. bottles of red, yellow, blue, and green, for about $2.75/each, a quantity that will last roughly three human lifetimes.  

Warning: The food coloring WILL stain your clothes, work surfaces, fingers, etc. Make sure you plan and work accordingly.


Create and teach your own Great Ideas as a Certified YogaKids Teacher!


Balloon Squeeze Balls

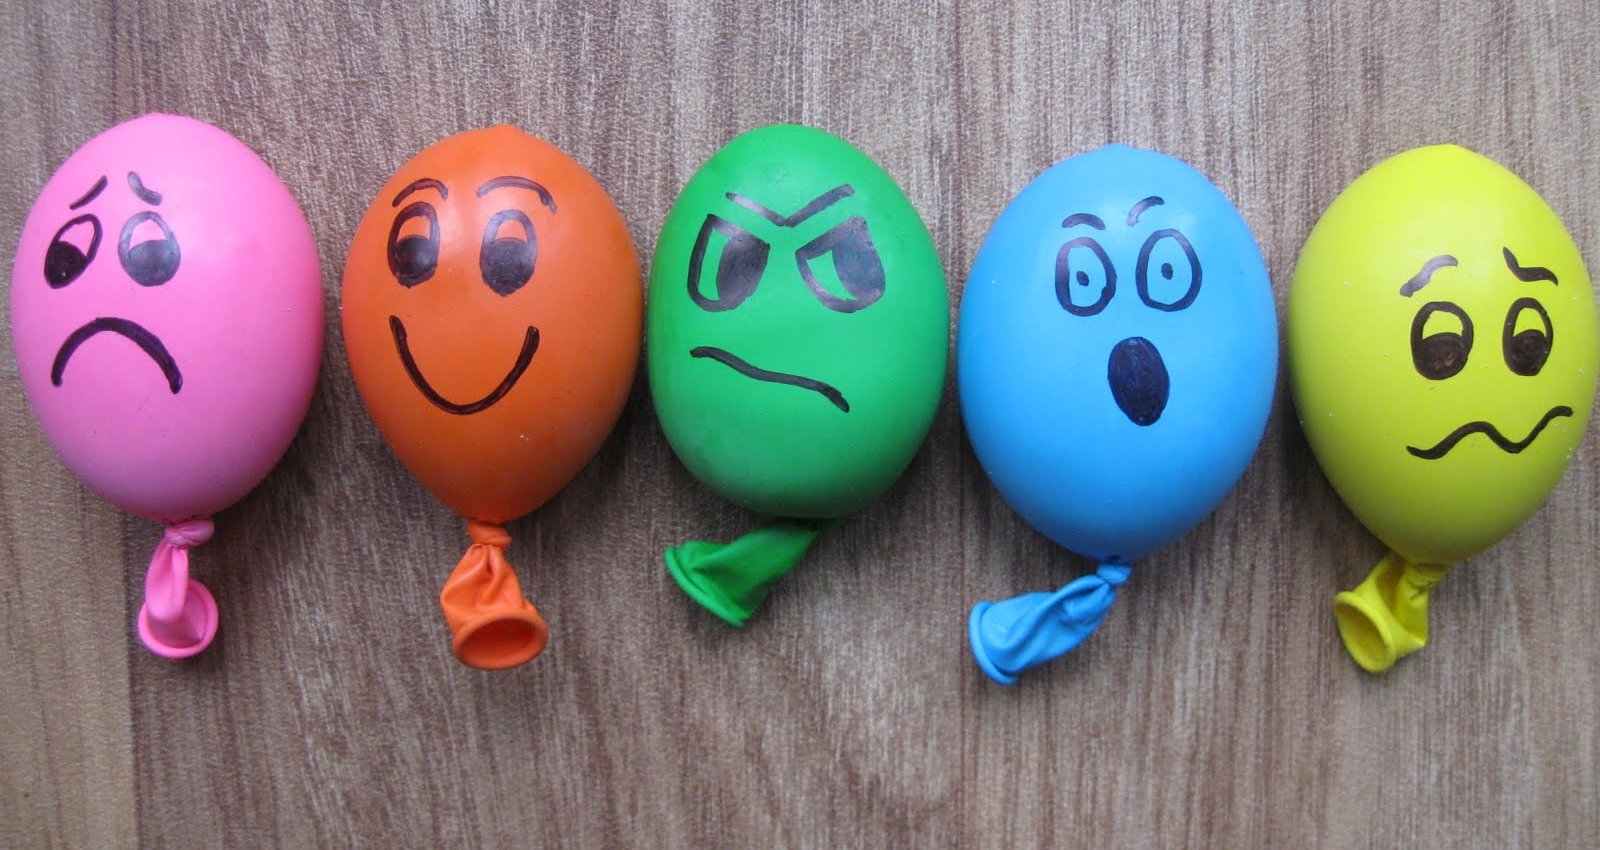
balloon squeeze craft

About Stress

The word “stress” has many meanings. It can be a noun — emotional and physical pressure you experience. (“Homework is such a major stress!”) It can also be a verb — emotional and physical reactions in your body as a result of the pressure. (“Homework is totally stressing me out!”) Stress can also be subjective, meaning it can be good or bad depending on the person experiencing it. (Maybe you love doing homework!)

Nevertheless, when people talk about stress, they’re usually talking about negative stress. This is the bad kind — and it’s important to know how to recognize and deal with it. When you feel negative stress, you also often feel anxious, frustrated or angry. It can also show up in your body — with a stomachache or headache.

So what can you do when you’re feeling negative stress? One GREAT thing is… (surprise!) yoga. Another great thing to do is to use a stress ball — a squishy toy you can squeeze when life gets challenging.


Balloon Squeeze Balls

Create these super-cute Balloon Squeeze Balls for yourself — or for someone special!

Supplies:

  • Balloons
  • Flour
  • Funnel
  • Permanent Markers

Instructions:

  1. Blow up the balloons, then release them — to stretch them out.
  2. Use the funnel to fill the balloons with flour.
  3. Tie the ends of the balloons. (Get a grown-up for help!)
  4. Draw faces on the balloons with a permanent marker.


Create and teach your own Great Ideas as a Certified YogaKids Teacher!


Snowman Glitter Shaker

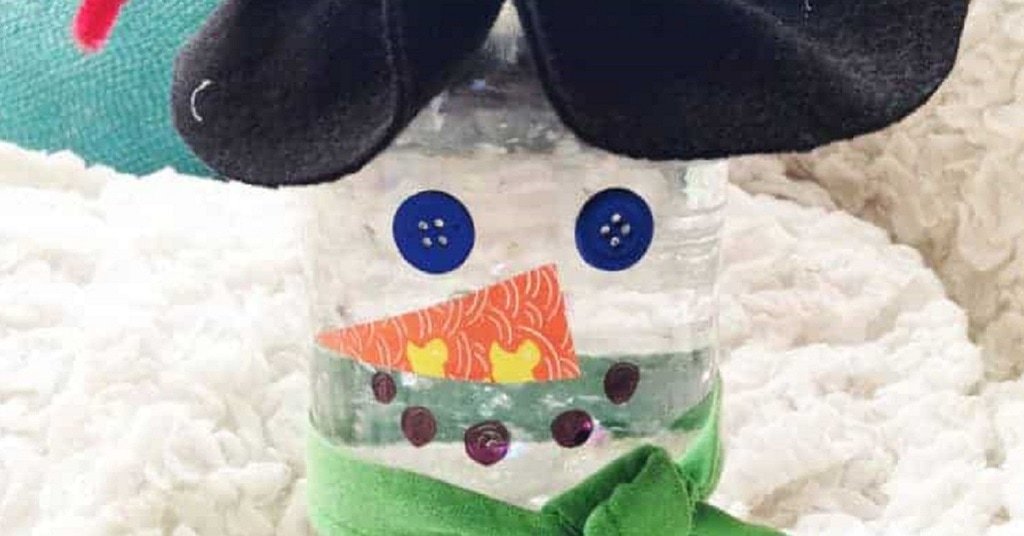
Snowman Glitter Shaker craft

GLITTER! What a great addition to a snow shaker! Your YogaKids will love this winter craft idea of a Snowman Glitter Shaker.

Supplies

  • One jar with a screw on lid (like a pasta sauce jar)
  • One 12”x12” piece of felt for the hat
  • Hot glue
  • Glycerin
  • A ribbon or other piece of fabric for the scarf
  • A pipe cleaner for the hat
  • A small piece of orange paper, cut into a triangle, for the carrot nose
  • A black sharpie for eyes and buttons
  • Other decorations, like jingle bells and pom-poms for the hat, or buttons for the eyes, mouth
  • Water
  • Plastic glitter in large and small sizes.

Instructions:

You may adjust the glycerin-to-water ratio for the size of your jar – I am using a 24 oz. jar in the example.

  • Remove the label and scrape off any leftover glue. Make sure the jar is completely dry.
  • Begin by tying the scarf onto the jar and adding a dot of hot glue to the front and back, between the ribbon or fabric and jar, to hold the scarf in place.
  • Glue on button eyes or draw on black circles for eyes, mouth, and buttons. Glue on the nose.
  • Trace a circle onto the felt using a bowl, and cut it out. Note: Using the lid of your jar as a guide, you should have no less than 1” extra fabric all around. I have about 1.5” margins on mine.
  • The larger the circle, the floppier the hat.
  • Add ¼ cup of glycerin and about 1 cup water. Put the lid on the jar and shake until mixture is homogeneous.
  • Put a maximum of 2 Tablespoons of plastic glitter into the jar, then fill until about 1” from the top of the jar. Put the lid on and make sure you like the consistency of the water and glitter. If you want to add more glycerin to make the glitter move more slowly, add it now and mix well.
  • Once you’re happy with the water viscosity, fill the last remaining space up to the brim and put the lid on. Dry any water spots that may have leaked out, and hot glue around the base of the lid.
  • Center the circle of felt on the lid and hot glue it in place.
  • Crimp the felt as needed to get the shape of hat you want, and wrap the pipe cleaner tightly under the base of the lid, twisting the ends to hold it together. You will probably need more than one set of hands for this step! Add decorations, like pom-poms, silk flowers, or a bow) over the place where you twist the pipe cleaner closed.
  • Let it snow!

Create and teach your own Great Ideas as a Certified YogaKids Teacher!

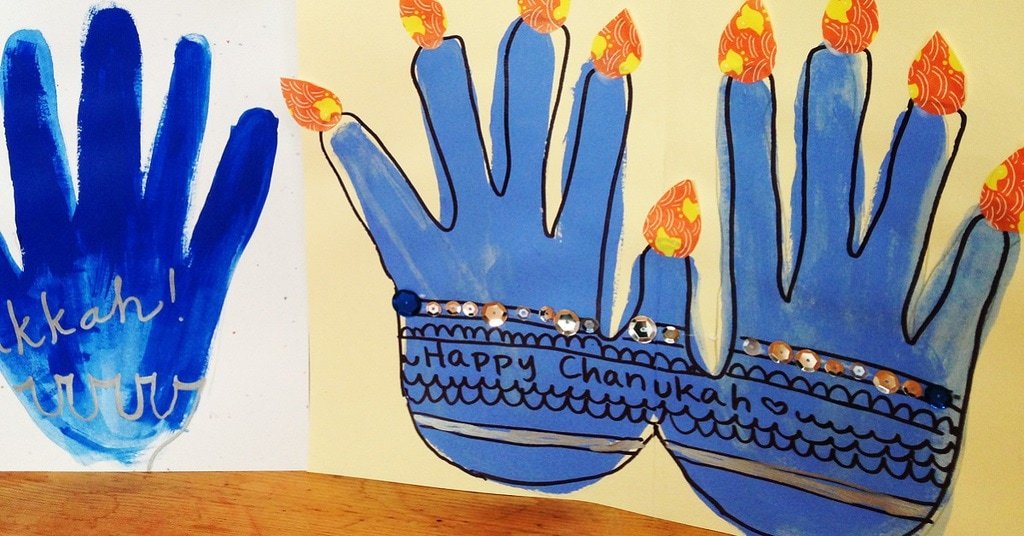
Handprint Menorah

Handprint Menorah craft

The Festival of Lights has begun! Celebrate with this easy Handprint Menorah craft… perfect for your YogaKids class or an at-home arts & crafts activity!

Supplies:

  • Patterned or brightly colored paper to use for candle flames
  • A piece of card stock
  • Tempera or other water based paint in the color you want your menorah
  • Scissors
  • Glue or glue stick
  • Metallic sharpies, paints, sequins, etc. optional – for decorating the menorah

Instructions:

  • Fold the card stock in half, and then unfold it. Lay it flat.
  • Placing your left hand on the left side of the paper, with your thumb straight up, across the center fold line.
  • Trace your hand, then repeat on the right side, with your thumb in the same place as the left thumb.
  • Paint inside the lines you just traced.
  • Allow paint to dry and then decorate over the top of the menorah.
  • Fold the piece of paper you’re using for flames in half. Draw five flame shapes and cut them out of the folded paper to make ten flames. (That’s one left over)
  • Glue a flame in the center, then “light” one finger of the menorah for each night of Chanukah.
  • Keep the extra flames in an envelope nearby so they don’t get lost, and enjoy the Festival of Lights!

Learn all our Great Ideas as a Certified YogaKids Teacher!

Winter Solstice YogaKids Lesson Plan

Snow Covered Forest

The Winter Solstice is a time of renewal. Bring in new light, joy and peace. Enjoy this FREE YogaKids Lesson Plan that will help your kids celebrate this special time of year!

MATERIALS

Suggested Music: Reach for the Sun (YogaKids Musical MusingsCelebration (Kool & The Gang), So I Jump in the Soup (Laurie Berkner), Namasté (YogaKids Musical Musings)

CONNECTING CIRCLE

Sit in a circle and share the following information:

The winter solstice is the longest night of the year and falls on December 21 or 22 in the Northern Hemisphere and June 20 or 21 in the Southern Hemisphere. People all over the world recognize this day as the “return” of the sun in a variety of ways. Some traditions actually influenced current holidays such as Christmas and Hanukkah.

Go around the circle, share something you love to do in the winter time and act it out in your very own yoga pose or movement.

POSES AS PATHWAYS

Take 5 – Let’s begin by connecting with our breath.

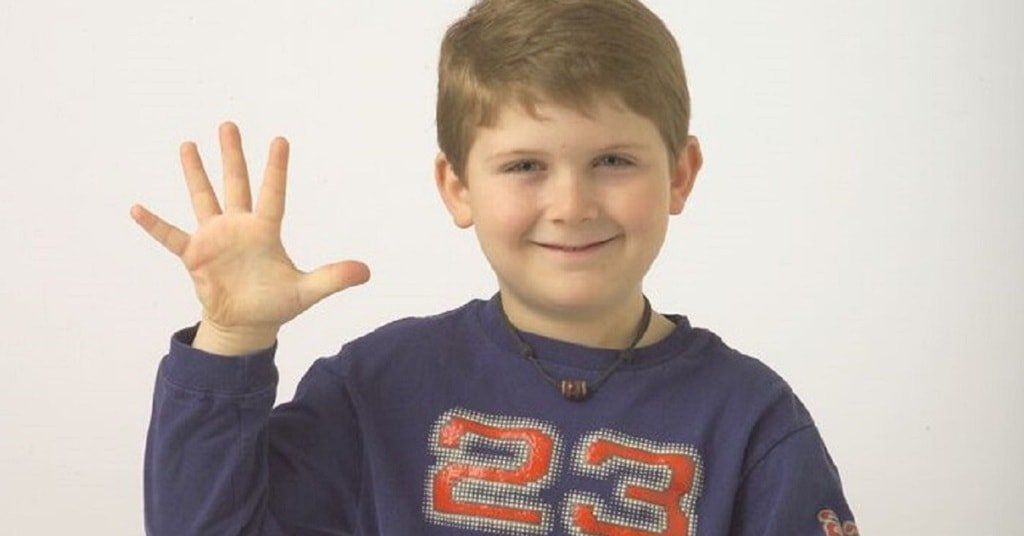
Sit cross-legged. Lift one finger at a time as you breathe in through your nose and count in your mind: 1,2,3,4,5. Pause with your hand up and then slowly breathe out through your nose as you count backward: 5,4,3,2,1, putting down one finger at a time for each number. Do “Take 5” twice more.

Reach for the Sun – Let’s celebrate the return of the sun after the longest night of the year.

Begin in Open Mountain pose. Breathe in and reach up high with an outstretched hand. Grab a piece of sunshine and pull the power into your solar plexus, your belly, your inner sun. Exhale with an audible “HAH” breath. Repeat with the other arm. Alternately reach with the left and right arms, pulling your hands into your center. As you practice, increase the force of your breath. Repeat a few more times (or play the YogaKids song “Reach for the sun” while you act it out).

Freeze and Flow – We can celebrate the winter solstice with a game.

Put on some fun music (ie Celebration), dance around the room and celebrate the Winter Solstice. When the music stops, freeze in a pose pretending to do something you love to do in the winter time. (Remember your ideas from our connecting circle). When the music starts again, continue to celebrate and dance.

*Soyal is a winter solstice celebration of the Hopi Indians of northern Arizona. Ceremonies and rituals include dancing and gift giving. At the time of the solstice, The Hopi welcome protective spirits from the mountains.  

Volcano  Let’s do Volcano pose and allow those spirits to release from the mountains.

Begin in Mountain pose. Bring your fingertips together at the chest. Jump your feet apart. Place your palms together at the center of your body in Namaste Position. Watch your hands as you raise them over your head. Breathe out as you explode your arms outward. Lower them to your sides and return your hands to Namaste. Erupt and release again and again.

Bold Warrior 1/ Brave Warrior 2 – Let’s be like the brave Hopi Indian Warriors.

Begin in Mountain pose. Step back with one leg while bending your front leg. Keep your hips facing frontward as you raise your arms straight above your head. Say “I am bold”. From Bold Warrior, turn your back foot slightly outward and brings your arms down parallel to the floor. Keep your front knee bent over your ankle. Say “I am brave.” Return to Mountain pose and repeat on the other leg.

*Yalda is a festival in Iran that started in ancient times. It is a celebration of the victory of light over dark and the birth of the sun goddess Mithra. Yalda is a Syric word that means “birth”. Families would stay awake all night long to welcome the morning sun and celebrate with special food like nuts, watermelon and pomegranates. It is believed that by eating summer fruits at the begin of winter, one would not fall ill during the cold season.

Seed to Tree – Time to plant our favorite summer fruit and grow it for the Yalda festival. Fruit grows on trees, so let’s plant a seed and become our favorite fruit tree. Which fruit would you like to grow?

Come down to your knees, pretend to dig a small hole in the earth. Plant a small seed and cover it up. Pretend you are the seed. From Child’s pose, begin to sprout leaves, allow your hands to grow away from the body and grow, lifting onto your knees and extending the arms up high. Grow taller and taller into Tree pose, standing on one leg with the opposite foot planted on your calf or thigh. Raise your arms above your head and stretch them out. Repeat on the other leg – and grow a new fruit tree.

Table of Contents – Now that we grew our favorite fruits, it is time to eat them at our winter celebration. We will make a table with our bodies for the yummy feast.

Lie on your back. Bend your knees and place your feet on the floor. Press down with your hands and feet, lifting your body up until you are in table position. Be sure to keep your hands underneath your shoulders, fingers pointing towards your body.

*Dong Zhi, means “winter arrival” and  is an important festival in China. It is a time for family to get together and celebrate the year they had. It is thought to have started as an end of the harvest festival, with workers returning from the fields and enjoying the fruits of their labors with family and traditionally eat a sweet soup made of rice balls.

Plough – Farmers use ploughs to break up the soil and prepare it for planting. We can pretend to be ploughs too.

Sit cross-legged. Take a hold of your toes from the outer side of your knees. Breathe in and out. Roll backwards, let go of your toes while bending your elbows. Use your hands to support and lift your back. Straighten your legs and lift them past your head until your bent toes touch the floor. Squeeze your shoulders and elbows together. Breathe in and out.

Soup Bowl (Row Your Boat)We can make our bodies into the shape of a soup bowl.

Begin in L-sitting pose and place both hands next to your hips. Lengthen your arms and spine. Lean back and lift your legs off the floor. Balance. Stretch your arms forward, bend your elbows and round your arms like the sides of a soup bowl.  (play the song “I jump in the soup” by Laurie Berkner, follow the lyrics and add arm movements to represent swimming, galloping and splashing in the soup).”’

Sunrise/Sunset – The day is done and our celebrations around the world have come to a close. It is time for the sun to set on our Winter Solstice.

Come down to your knees and sit your hips back to your heels for a Child’s Pose. Let’s walk our hands to the right, since the sun rises in the East. Inhale your arms up the sky as you come up onto your knees, reaching North. Exhale as the sun sets to the West, releasing your hands down to the left and returning your hips to your heels. Each time we lift up is like the Sunrise, and come down like the Sunset. Repeat a few more times as we prepare our bodies for rest.   

QUIET QUESTS

While facing each other or sitting in a circle or small group, place a candle in the middle of the circle representing new light. Eyes may be closed, or open and focused on the candle flame. Breathe slowly. Hands may be placed on your belly or in your lap. Take a few moments to just be with yourself, your breath and your thoughts.

Envision your family and friends – forgive anyone you are not getting along with, and allow any negative thoughts to stay in the darkness. Time to focus on the light and the light in others.

Give thanks to these people – give them a gift of quality (peace, joy, love). Take a moment to think of each person and and send them their special gift.

CLOSING CIRCLE

Namasté – Bringing the hands to heart center, say Namasté to each other, acknowledging the light within each of us.  Namasté 


Learn to write and teach your own YogaKids lesson plans!

Snow Salutation

Children playing in the snow

A sun salutation in yoga is a sequence of poses, linked together with your breath. They are a wonderful way to wake up in the morning, and celebrate the sun and how it helps give life to all living things. This winter, you can do a new version of this — a SNOW SALUTATION — and offer up some gratitude to this magical, festive season.

  1. Reach your arms up high and grab some snowflakes.
  2. Bend forward at your waist and pat the snow on the ground.
  3. Lift half way up to look up at the snow falling.
  4. Jump your feet backwards like a snowshoe rabbit. Keep your elbows hugging next to your ribs, and slowly lower your body down to the soft fluffy snow.
  5. Press your mittens into the snow and look up (Snake). Catch some snowflakes with your tongue.
  6. Roll over on to your back and make a snow angel.
  7. Roll back to your belly and take a little rest in Child’s Pose. You are a little mouse in the snow.
  8. Lift your bum up and press down. Now you’re a wolf in the snow (Down Diggety Doggie Down). Howl! 
  9. Bend your knees, look at your hands and jump forward like a snowshoe rabbit.
  10. Pat the snow on the ground.
  11. Stand up, and reach up for some more snowflakes with your mittens.
  12. Look up! Stick out your tongue and catch some!
  13. Bring your hands to your heart center in Namaste pose.
  14. Repeat!

Learn all our Great Ideas as a Certified YogaKids Teacher!

Rainbow Week Day 7

girl meditating

“I am a Rainbow.”

The seventh chakra is the Crown Chakra. It’s violet and reminds us that we are whole, centered beings. It is the acknowledgement and celebration of our connectedness to our higher selves, our world, and the energy that has created everything. An open seventh chakra helps us experience peace, serenity and enlightenment.

Take some time today to celebrate all that you are… a true rainbow! Click here to play the meditation.


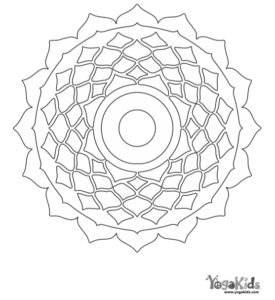
Click here to get a coloring page of the Seventh Chakra!

Crown Chakra Coloring Page


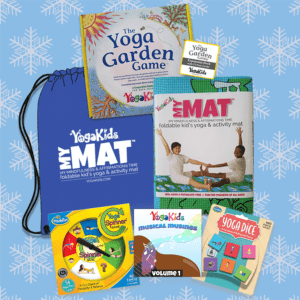
Don’t miss our Holiday Deals on toys and games your YogaKids will love!


Rainbow Week Day 6

“I am smart.”

The sixth chakra is the Third Eye Chakra. It’s indigo and reminds us to be smart and intuitive. Often described as our “third eye” or our “sixth sense,” the sixth chakra is about acknowledging the truths we perceive separate from our other five senses. An open sixth chakra helps us make wise choices based upon our inner knowing.

Take some time today to reflect on your inner guide. Click here to play the meditation.


Click here to get a coloring page of the Sixth Chakra!

Third Eye Chakra Coloring Page


Don’t miss our Holiday Deals on toys and games your YogaKids will love!


Rainbow Week Day 5

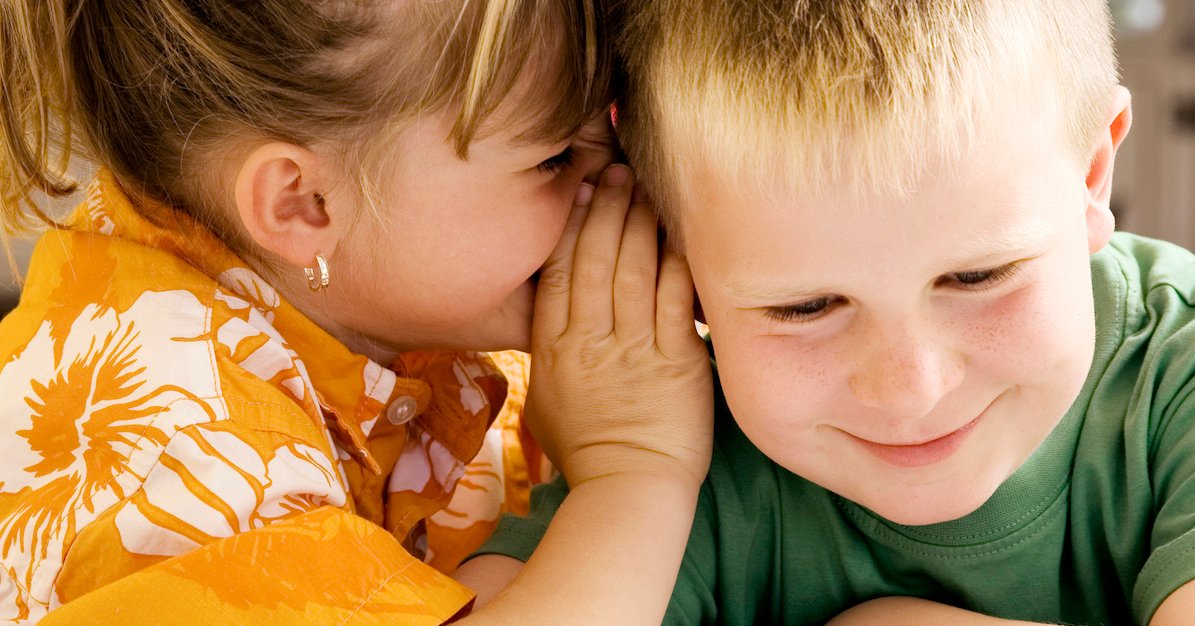
Girl Whispering in Boy's Ear

“I am Truthful.”

The fifth chakra is the Throat Chakra. It’s blue and reminds us to be truthful and authentic. It’s easy to do and say what others expect us to do and say. An open fifth chakra is one that inspires us to act in a way that in accordance with what is in our hearts.

Take some time today to reflect on your highest truths. Click here to play the meditation.


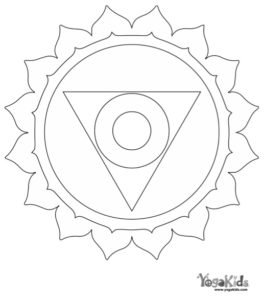
Click here to get a coloring page of the Fifth Chakra!

Throat Chakra Coloring Page


Don’t miss our Holiday Deals on toys and games your YogaKids will love!